Fun & Free
Printable Resources for Kids
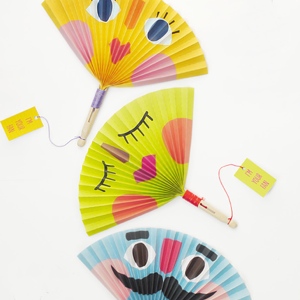
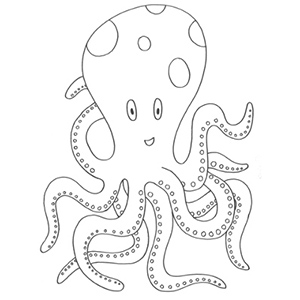
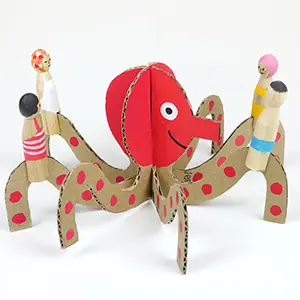
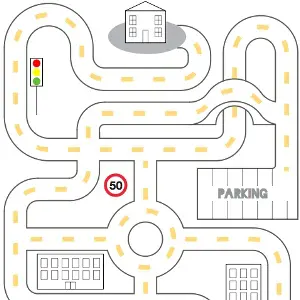
Welcome to Mr Printables! We make beautiful free printable activities, flash cards, coloring pages, crafts, toys and party printables for children.
We're currently working on the site & any broken pages or downloads will be fixed soon, so please check back if you experience a problem! Thank you!